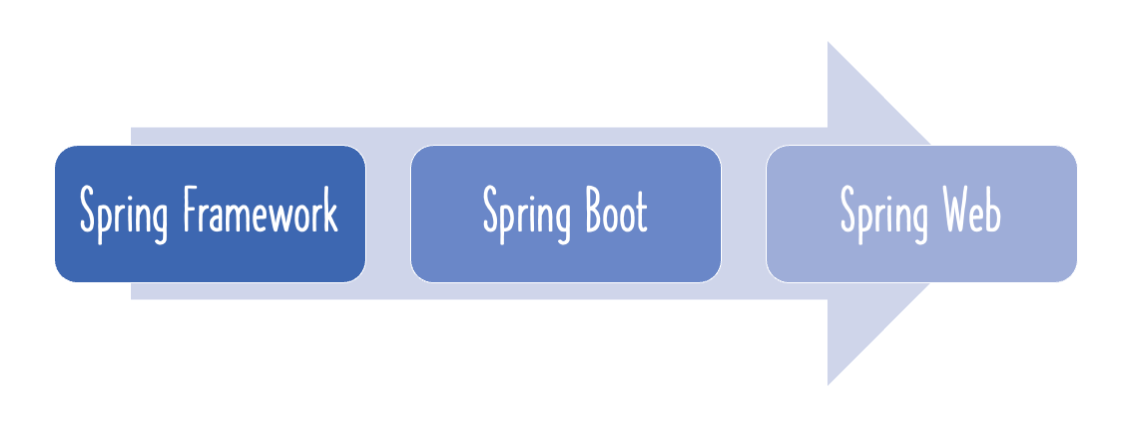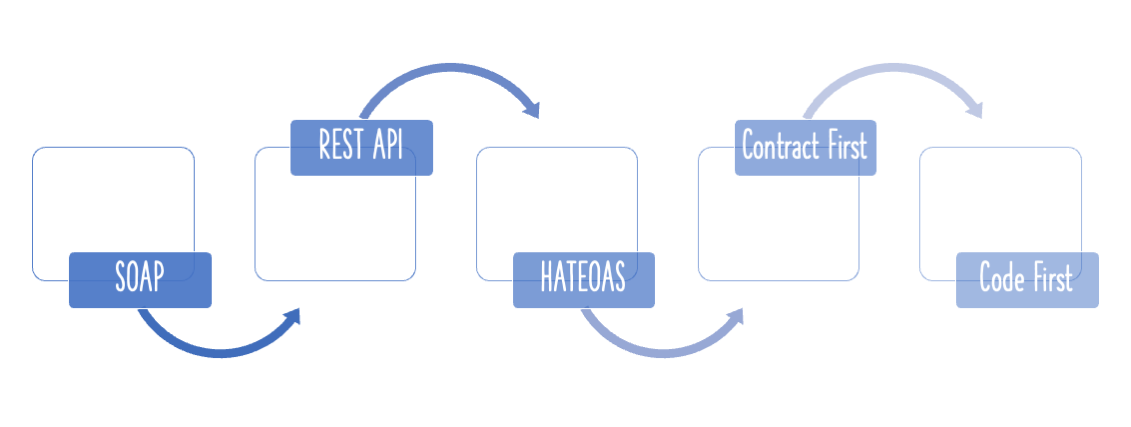
Spring Boot makes it simple to set up a basic project. In this tutorial, we will look at how to create Spring Boot projects with Maven, Eclipse or IntelliJ.

You will learn
- How to bootstrap a simple project with Spring Initializr?
- How to use Spring Starter Eclipse Plugin to create a simple project with Spring Boot, Maven and Eclipse?
- How to create a Spring Boot Project manually step by step?
Tools you will need
- Maven 3.0+ is your build tool
- Your favorite IDE. We use Eclipse or IntelliJ.
- JDK 17+
Introduction to Maven
Q : Why Maven?
You do not want to keep all of your libraries in your project!
You want to tell the tool that I require A, B, and C, and you want it to download the libraries and make them accessible to you.
Maven is the name. The application that you use to manage your libraries.
Whenever you require a new version of the library, simply change the version number and your project is complete!
You also don’t have to worry about which libraries your library need to function. Spring, for example, may require additional libraries like as logging, xml, and so on.
When you declare Spring as a dependency, Maven will download it.
- Spring
- And all dependencies of Spring
Isn’t that cool?
Big Picture of Maven
It is tough to define what Maven accomplishes.
Every day, Developer undertakes a variety of tasks.
- Manages Dependencies
- Web Layer (Spring MVC)
- Data Layer (JPA - Hibernate) etc.
- Build a jar or a war or an ear
- Run the application locally
- Tomcat or Jetty
- Deploy to a T environment
- Add new dependencies to a project
- Run Unit Tests
- Generate Projects
- Create Eclipse or IntelliJ Workspace
Maven helps us do all these and more…
Naming a project
Dependencies are specified in your pom.xml file.
Maven would fetch the dependencies and include them in your project.
Yet, how does Maven know which dependencies to download?
You must explain it by providing specifics about the dependency.
A maven artefact may be identified by a GroupId and an ArtifactId, much way a Java class can be identified by a class name and a package name.
    <groupId>com.in28minutes.learning.maven</groupId>
    <artifactId>maven-in-few-steps</artifactId>
Declaring Dependencies
Dependencies are frameworks required to construct your project.
In the example below we are adding two dependencies.
<dependency>
    <groupId>org.springframework.boot</groupId>
    <artifactId>spring-boot-starter-web</artifactId>
</dependency>

<dependency>
    <groupId>org.springframework.boot</groupId>
    <artifactId>spring-boot-starter-test</artifactId>
    <scope>test</scope>
</dependency>
Maven Build Life Cycle
When we execute “mvn clean install,” we finish the whole maven build life cycle.
LifeCycle construction is a series of phases.
- Validate
- Compile
- Test
- Package
- Integration Test
- Verify
- Install
- Deploy
Maven follows Convention over Configuration.
Pre defined folder structure
- Source Code
- ${basedir}/src/main/java
- ${basedir}/src/main/resources
- Test Code
- ${basedir}/src/test
How does Maven Work?
All jars in the Maven Repository are indexed by artefact id and group id.
When we add a dependence to our pom.xml, maven queries the maven repository for jar dependencies, using the group id and artefact id as input.
- Maven repository stores all the versions of all dependencies. JUnit 4.2,4.3,4.4
The jar dependencies are saved on your system in the maven local repository folder. All of our projects would make use of the jars in the maven local repository.
Local Repository : a temp folder on your machine where maven stores the jar and dependency files that are downloaded from Maven Repository.
Important Maven Commands
- mvn –version -> Find the maven version
- mvn compile -> compiles source files
- mvn test-compile -> compiles test files - one thing to observe is this also compiles source files
- mvn clean -> deletes target directory
- mvn test -> run unit tests
- mvn package -> creates a jar for the project
- help:effective-settings -> Debug Maven Settings
- help:effective-pom -> Look at the complete pom after all inheritances from parent poms are resolved
- dependency:tree -> Look at all the dependencies and transitive dependencies
- dependency:sources -> Download source code for all dependencies
- –debug -> Debug flag. Can be used with all the above commands
Creating Spring Boot Projects with Eclipse and Maven
There are three options to create Spring Boot Projects with Eclipse and Maven
- Spring Initializr - https://start.spring.io
- Use STS or STS Eclipse Plugin and Create a Spring Boot Maven Project directly from Eclipse
- Manually Create a Maven Project and add Spring Boot Starter Dependencies.
We will use a Spring Boot Starter Web as an example.
Option 1 - Bootstrapping Spring Boot Project with Spring Initializr
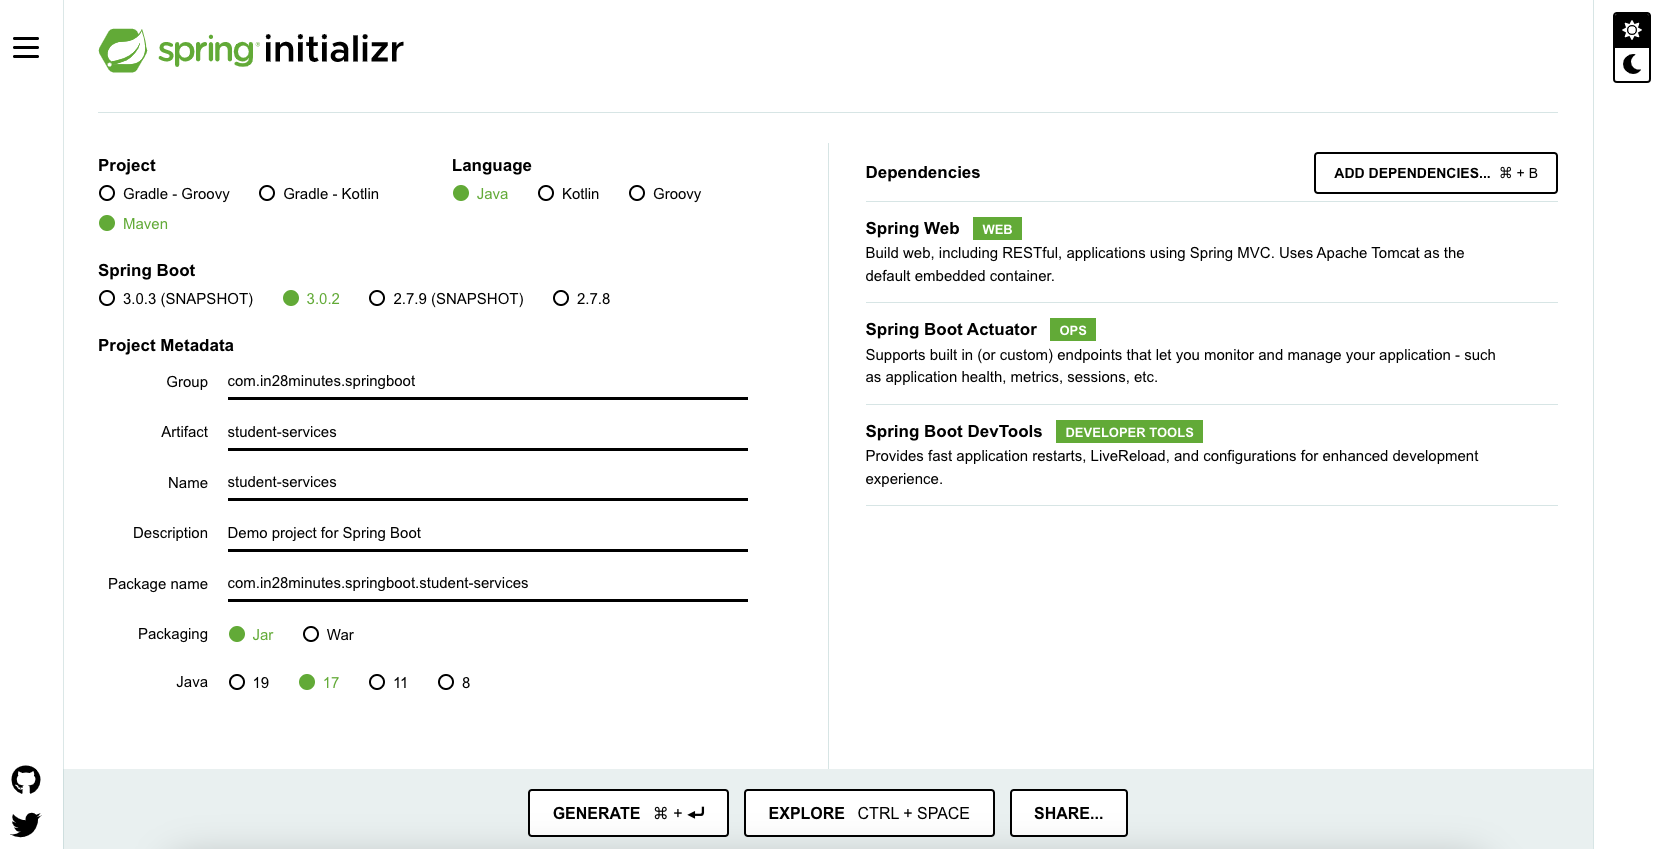
Creating a Web application with Spring Initializr is a cake walk. We will use Spring Web MVC as our web framework.
Spring Initializr http://start.spring.io/ is great tool to bootstrap your Spring Boot projects.

As shown in the image above, following steps have to be done
- Launch Spring Initializr and choose the following
- Choose
com.in28minutes.springbootas Group - Choose
student-servicesas Artifact - Choose following dependencies
- Web
- Actuator
- DevTools
- Choose
- Click Generate Project.
This would download a zip file to your local machine.
Unzip the zip file and extract to a folder.
In Eclipse, Click File -> Import -> Existing Maven Project as shown below.

Navigate or type in the path of the folder where you extracted the zip file to in the next screen.

Once you click Finish, Maven would take some time to download all the dependencies and initialize the project.
That’s it. Your first Spring Project is Ready.
Follow these links to understand more about the project that is created - Spring Boot vs Spring vs Spring MVC, Auto Configuration, Spring Boot Starter Projects, Spring Boot Starter Parent, Spring Boot Initializr
Option 2 - Using STS or STS Eclipse Plugin to create Spring Boot Maven Project
You may create a spring boot project straight from Eclipse using the Spring tool suite.
You need either download the entire STS installer or install the STS Eclipse plugin.
https://spring.io/tools/sts/all provides the complete download of STS as well as the Update Sites for STS Eclipse Plugin.
In Eclipse/STS, start with File -> New -> Spring Starter Project as shown below.

In the next screen, you can choose the following for your project.
- Group ID
- Artifact ID
- Root Package
- Version
- Description
- Java Version
- Language
- Packaging
Make sure you choose Maven as Type.

In the following page, you may specify the dependencies you wish to include in your Spring Boot project.

Maven will need some time to download all the dependencies and initialise the project when you click Complete.
That’s all. Your first Spring project is complete.
Option 3 - Manually Create a Maven Spring Boot Project
The final option is to develop the project by hand.
Begin by selecting File > Create > Maven Project in Eclipse.
Choose Make a basic craft like the one illustrated below:

In the next screen, provide these details for your project and click Finish.
- Group ID
- Artifact ID
- Version
This would create a basic Maven project with Zero dependencies.
Next add in the appropriate Spring Boot Starters into the pom.xml
<dependency>
    <groupId>org.springframework.boot</groupId>
    <artifactId>spring-boot-starter-web</artifactId>
</dependency>

<dependency>
    <groupId>org.springframework.boot</groupId>
    <artifactId>spring-boot-devtools</artifactId>
    <scope>runtime</scope>
</dependency>

<dependency>
    <groupId>org.springframework.boot</groupId>
    <artifactId>spring-boot-starter-test</artifactId>
    <scope>test</scope>
</dependency>
Starter Web is used to create Spring Boot Web Apps or RESTful Services.
Starter Test supports unit and integration testing with Spring Test, Mockito, and JUnit.
The version for these dependencies is one thing we are missing.
Spring Boot Starter Parent will be added as the parent pom in the pom.xml file.
<parent>
    <groupId>org.springframework.boot</groupId>
    <artifactId>spring-boot-starter-parent</artifactId>
    <version>2.3.1.RELEASE</version>
    <relativePath /> <!-- lookup parent from repository -->
</parent>
Let’s configure the Java version to use as 17
<properties>
    <project.build.sourceEncoding>UTF-8</project.build.sourceEncoding>
    <project.reporting.outputEncoding>UTF-8</project.reporting.outputEncoding>
    <java.version>17</java.version>
    <maven-jar-plugin.version>3.1.1</maven-jar-plugin.version>
</properties>
The next step is to create a Spring Boot Application class that will be used to run the web application.
/src/main/java/com/in28minutes/springboot/tutorial/SpringBootWebApplication.java
package com.in28minutes.springboot.tutorial;

import org.springframework.boot.SpringApplication;
import org.springframework.boot.autoconfigure.SpringBootApplication;

@SpringBootApplication
public class SpringBootWebApplication {

    public static void main(String[] args) {
        SpringApplication.run(SpringBootWebApplication.class, args);
    }
}
All that you need to do is to add @SpringBootApplication and use SpringApplication.run() static method to launch the Spring Application context.
When you run this class as a java programme, you will see that an embedded Tomcat server will start up, and you will be able to add functionality to this application.
Conclusion
In this post, we looked at how to create Spring Boot projects with Maven and Eclipse. Option 2 of generating the project straight from Eclipse using the STS plugin is my favourite. But, you may have a preference.


