

In this guide, you’ll learn how to build a simple REST service with Spring Boot.

You will learn
- What is a REST Service?
- How to bootstrap a REST service application with Spring Initializr?
- How to create a GET REST service for retrieving the courses that a student is registered for?
- How to create a POST REST service for registering a course for a student?
- How to execute REST services using Postman?
Rest Services in this Guide
In this guide, we will create three services using proper URIs and HTTP methods:
@GetMapping("/students/{studentId}/courses")
Retrieve all the courses a specific student has registered for.- HTTP Method: GET
- Example URI:
/students/Student1/courses
@GetMapping("/students/{studentId}/courses/{courseId}")
Retrieve details of a specific course for a specific student.- HTTP Method: GET
- Example URI:
/students/Student1/courses/Course1
@PostMapping("/students/{studentId}/courses")
Register a student for a new course.- HTTP Method: POST
- Example URI:
/students/Student1/courses
Tools You Will Need
- Maven 3.0+ – Build tool for managing dependencies and building the project
- IDE of your choice – We recommend Eclipse or IntelliJ IDEA
- JDK 17+ – Required to run the Spring Boot application
Complete Maven Project with Code Examples
You can find the complete project with code samples in our GitHub repository:
👉 Browse Code Examples
Available Project
- REST Services with Unit and Integration Tests
Download:Website-springbootrestservices-simplerestserviceswithunitandintegrationtests.zip
What is REST?
REST stands for REpresentational State Transfer.
It is an architectural style that defines a set of constraints for building scalable web services.
Any service following these rules is called a RESTful Service.
Key Constraints of REST
- Client–Server: Clear separation between the service provider (server) and the consumer (client).
- Uniform Interface: Resources are identified using URIs (e.g.,
/students/1/courses). - Stateless: Each request is independent; the server does not store client state.
- Cacheable: Responses can be cached (e.g., using HTTP caching).
- Layered System: Clients don’t need to know if they are talking directly to the server or through intermediaries ( like caches, proxies, or load balancers).
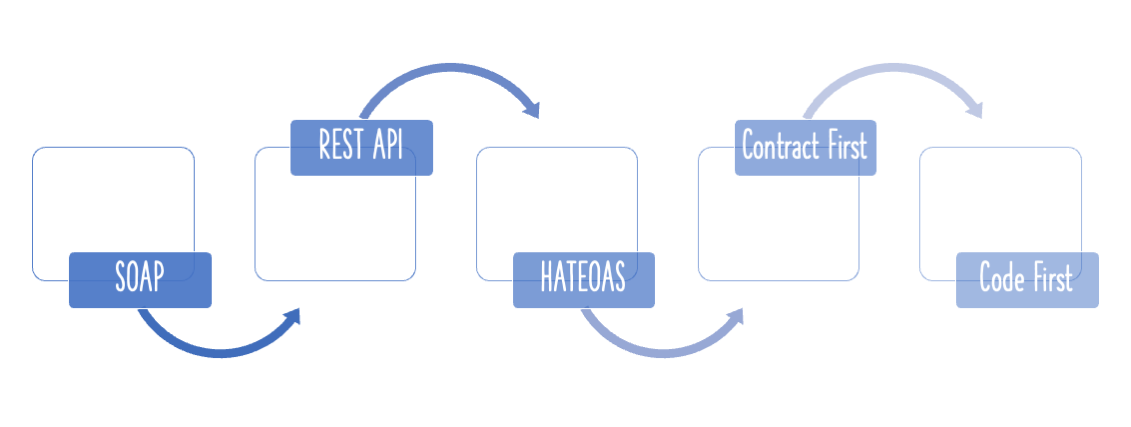
Richardson Maturity Model
The Richardson Maturity Model (RMM) helps identify how mature a RESTful Web Service is, based on how well it follows
REST principles.
It defines four levels (0–3):
- Level 0: The Swamp of POX
- REST in name only — action-based URIs.
- Example:
http://server/getPostshttp://server/deletePostshttp://server/doThis
- Level 1: Resources
- Use of resource-based URIs (nouns instead of actions).
- Still missing proper use of HTTP methods.
- Example:
http://server/accountshttp://server/accounts/10
- Level 2: HTTP Verbs
- Combine resources with proper HTTP methods (GET, POST, PUT, DELETE).
- Example:
GET /accounts/10→ Retrieve accountPOST /accounts→ Create accountPUT /accounts/10→ Update accountDELETE /accounts/10→ Delete account
- URIs can look like:
/posts/1/comments/5/accounts/1/friends/1
- Level 3: HATEOAS (Hypermedia as the Engine of Application State)
- Responses include not just data, but also links to possible next actions.
- Example (Facebook user resource):
- Returns user details plus links for:
- Recent posts
- Recent comments
- Friend list
- Returns user details plus links for:
Using Appropriate Request Methods
When designing RESTful APIs, always use the correct HTTP methods for clarity and consistency.
Best practices for each method:
- GET
- Purpose: Retrieve data (read-only).
- Should not update anything.
- Should be idempotent (multiple identical requests return the same result).
- Possible Response Codes:
200 OK→ Success404 Not Found→ Resource not found400 Bad Request→ Invalid request
- POST
- Purpose: Create a new resource.
- Response should ideally include JSON with a link to the newly created resource.
- Possible Response Codes:
200 OK→ Success (less common)201 Created→ Resource successfully created400 Bad Request→ Invalid input
- PUT
- Purpose: Update an existing known resource.
- Example: Update client details.
- Possible Response Codes:
200 OK→ Successfully updated404 Not Found→ Resource not found
- DELETE
- Purpose: Delete a resource.
- Possible Response Codes:
200 OK→ Successfully deleted404 Not Found→ Resource not found
Project Structure
The following screenshot shows the structure of the project we will create:
A Few Details
StudentController.java– REST controller exposing the three service methods discussed earlier.Course.java,Student.java,StudentService.java– Business logic for the application.StudentServiceprovides methods consumed by the REST controller.StudentControllerIT.java– Integration tests for the REST services.StudentControllerTest.java– Unit tests for the REST services.StudentServicesApplication.java– Launcher for the Spring Boot application. Run this file as a Java Application to start the service.pom.xml– Maven build file containing all dependencies. We use Spring Boot Starter Web here.
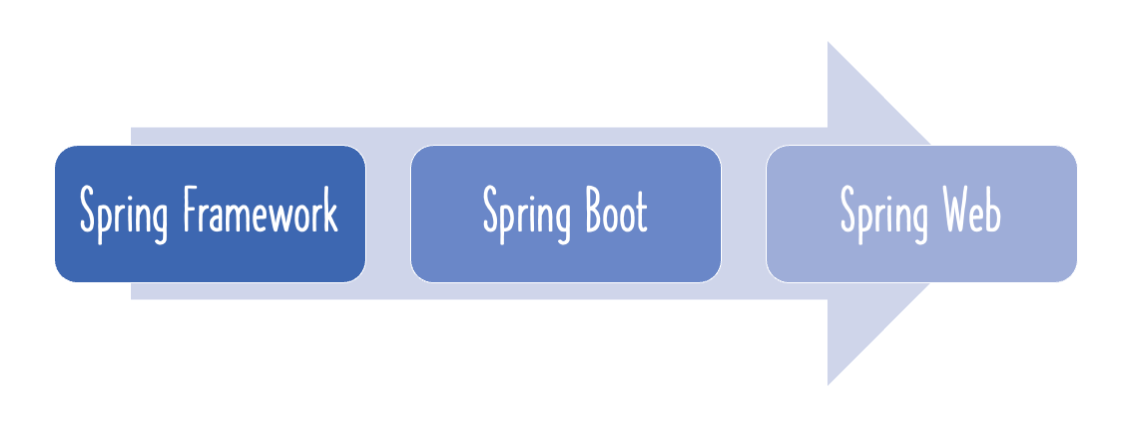
Bootstrapping Spring Boot REST API with Spring Initializr
Creating a REST service with Spring Initializr is very simple.
We will use Spring Web MVC as our web framework.
Spring Initializr is a great tool to quickly bootstrap your Spring Boot projects.

As shown in the image above, follow these steps:
- Launch Spring Initializr and choose the following:
- Group:
com.in28minutes.springboot - Artifact:
student-services - Dependencies:
- Spring Web
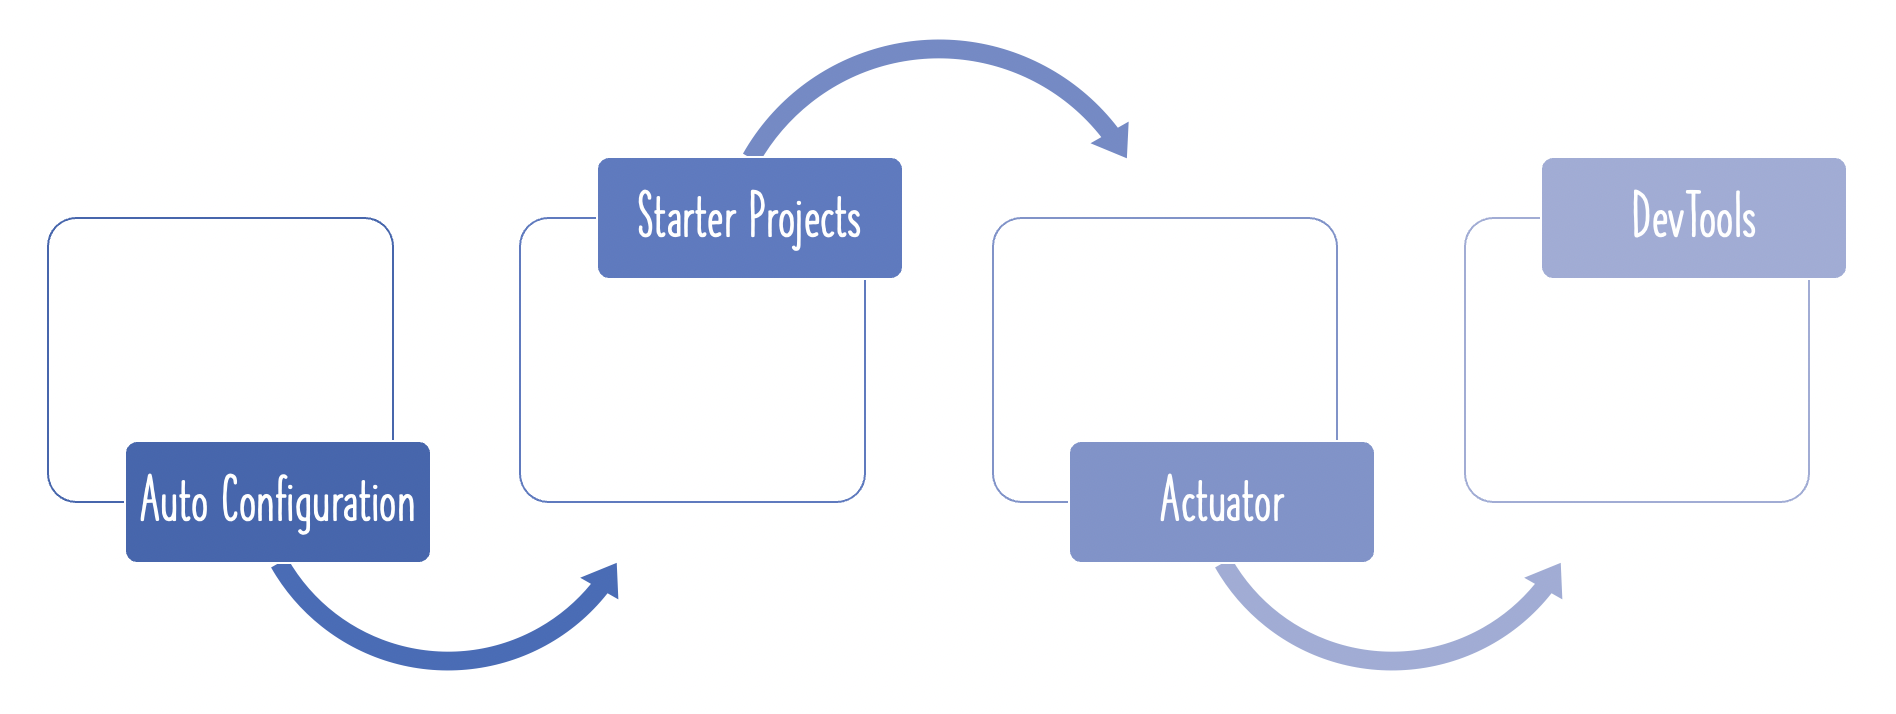
- Spring Boot Actuator
- Spring Boot DevTools
- Group:
- Click Generate Project.
- Import the project into Eclipse:
File -> Import -> Existing Maven Project - If you want to explore all the files that are part of this project, you can go here: Project Files
Implementing Business Service for Your Application
Every application needs data. Instead of connecting to a real database, we will use an ArrayList as an in-memory
data store.
Domain Model
- A Student can register for multiple Courses.
- A Course has:
idnamedescription- a list of steps to complete the course
- A Student has:
idnamedescription- a list of courses they are currently registered for
StudentService Methods
The StudentService provides the following methods:
public List<Student> retrieveAllStudents()→ Retrieve details of all studentspublic Student retrieveStudent(String studentId)→ Retrieve details of a specific studentpublic List<Course> retrieveCourses(String studentId)→ Retrieve all courses for a studentpublic Course retrieveCourse(String studentId, String courseId)→ Retrieve details of a specific course for a studentpublic Course addCourse(String studentId, Course course)→ Add a new course for a student
Reference Implementation
Check the exact implementation of the StudentService and model classes in the following files:
src/main/java/com/in28minutes/springboot/model/Course.javasrc/main/java/com/in28minutes/springboot/model/Student.javasrc/main/java/com/in28minutes/springboot/service/StudentService.java
Adding a Couple of GET REST Services
The StudentController exposes two GET services:
private final StudentService studentService;

public StudentController(StudentService studentService) {
    this.studentService = studentService;
}
-
Uses Spring Dependency Injection to wire the
StudentServiceinto the controller. -
@GetMapping("/students/{studentId}/courses")
Exposes a GET service to retrieve all courses for a given student, wherestudentIdis provided as a path variable. -
@GetMapping("/students/{studentId}/courses/{courseId}")
Exposes a GET service to retrieve details of a specific course for a given student. -
@PathVariable String studentId
ThestudentIdfrom the URI is automatically mapped to this parameter in the controller method.
package com.in28minutes.springboot.controller;

import com.in28minutes.springboot.model.Course;
import com.in28minutes.springboot.service.StudentService;
import org.springframework.http.ResponseEntity;
import org.springframework.web.bind.annotation.*;
import org.springframework.web.servlet.support.ServletUriComponentsBuilder;

import java.net.URI;
import java.util.List;

@RestController
@RequestMapping("/students/{studentId}/courses")
public class StudentController {

    private final StudentService studentService;

    public StudentController(StudentService studentService) {
        this.studentService = studentService;
    }

    @GetMapping()
    public List<Course> retrieveCoursesForStudent(@PathVariable String studentId) {
        return studentService.retrieveCourses(studentId);
    }

    @GetMapping("/{courseId}")
    public Course retrieveDetailsForCourse(
            @PathVariable String studentId,
            @PathVariable String courseId) {

        return studentService.retrieveCourse(studentId, courseId);
    }
}
Executing the Http Get Operation Using Postman
We will access a request to http://localhost:8080/students/Student1/courses/Course1 to test the service. And will receive the following response shown in the below.
{
  "id": "Course1",
  "name": "Spring",
  "description": "10 Steps",
  "steps": [
    "Learn Maven",
    "Import Project",
    "First Example",
    "Second Example"
  ]
}
The screenshot below shows how you can execute this GET service in Postman — my favorite tool for testing REST APIs.

Adding an HTTP POST Operation REST Service
An HTTP POST operation should return a 201 (Created) status when the resource is successfully created.
Key elements in our implementation:
-
@PostMapping("/students/{studentId}/courses")
Maps the URI for handling POST requests. -
@RequestBody Course newCourse
Binds the request body to aCourseobject. -
ResponseEntity.created(location).build()
Returns a 201 Created response along with the Location header pointing to the newly created resource.
@PostMapping()
public ResponseEntity<Void> registerStudentForCourse(@PathVariable String studentId,
        @RequestBody Course newCourse) {

    var course = studentService.addCourse(studentId, newCourse);

    if (course == null)
        return ResponseEntity.noContent().build();

    URI location = ServletUriComponentsBuilder.fromCurrentRequest()
            .path("/{id}")
            .buildAndExpand(course.id())
            .toUri();

    return ResponseEntity.created(location)
            .build();
}
Executing a Http POST Operation Rest Service
The example request below demonstrates how to register a new course for a student.
It includes all the required course details in the request body.
{
  "name": "Microservices",
  "description": "10 Steps",
  "steps": [
    "Learn How to Break Things Up",
    "Automate the hell out of everything",
    "Have fun"
  ]
}
The screenshot below shows how to execute this POST operation in Postman — my favorite tool for testing REST services.
Make sure to:
- Go to the Body tab.
- Select raw.
- Choose JSON from the dropdown.
- Copy the request JSON (shown above) into the body.
The URL we use is http://localhost:8080/students/Student1/courses.
Complete Code Example
Our GitHub repository has all the code examples - https://github.com/in28minutes/spring-boot-examples/tree/master/spring-boot-rest-services-with-unit-and-integration-tests
Just Released